Home
Recipes
Vegan
Raw
Salad
Soup
Treats
Smoothies & Juices
My Awesome Smoothie Book
Favourite Products
Smoothie & Juice Recipes
Juicing Articles
Happiness
Adventures
Work with Me
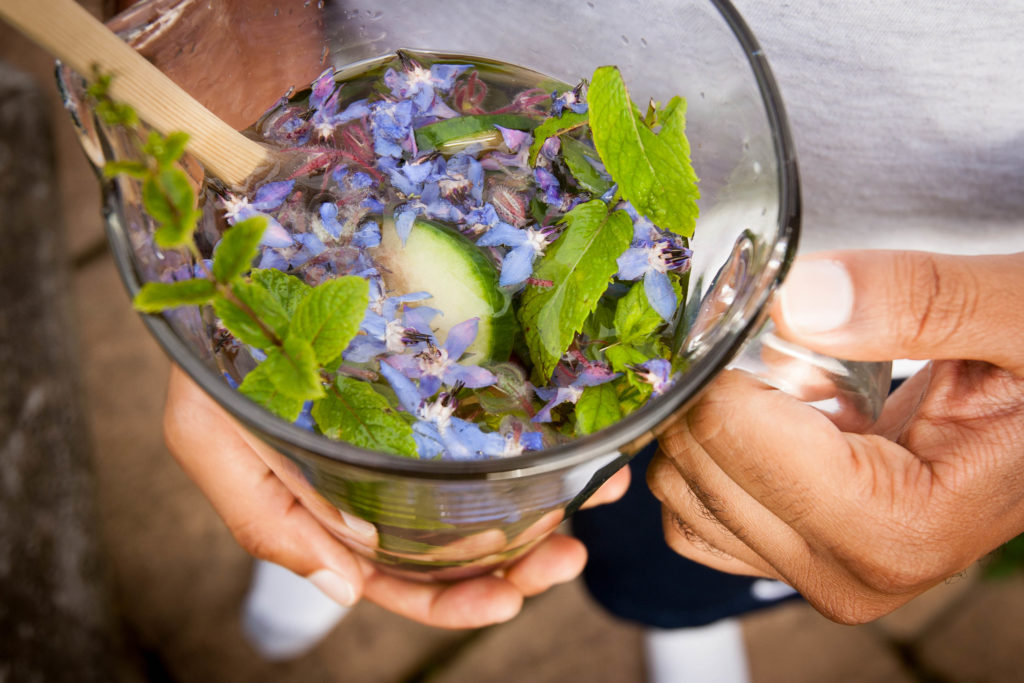
Stay happy and hydrated with these natural water flavourings
32 Natural Ways to Flavour Water
Smarter Fitter Smoothies Book
Smarter Fitter Smoothies Book
Happiness
My Writing Portfolio: An Invaluable Tool for Freelance Freedom
Health and Fitness
How You Can Make Sure You Keep Those Fitness Resolutions
Happiness
Making More Sustainable And Ethical Choices In What We Wear
Health and Fitness
32 Natural Ways to Flavor Water
Happiness
Busting the lockdown slump
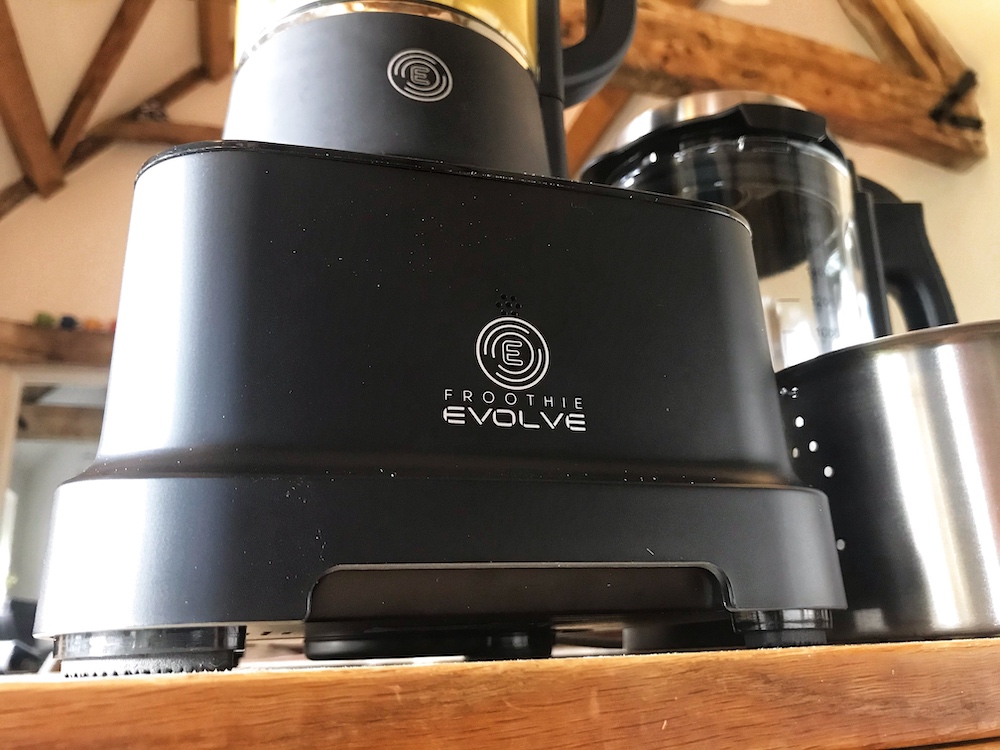
Product Review
Review: The Froothie Evolve High Speed Blender
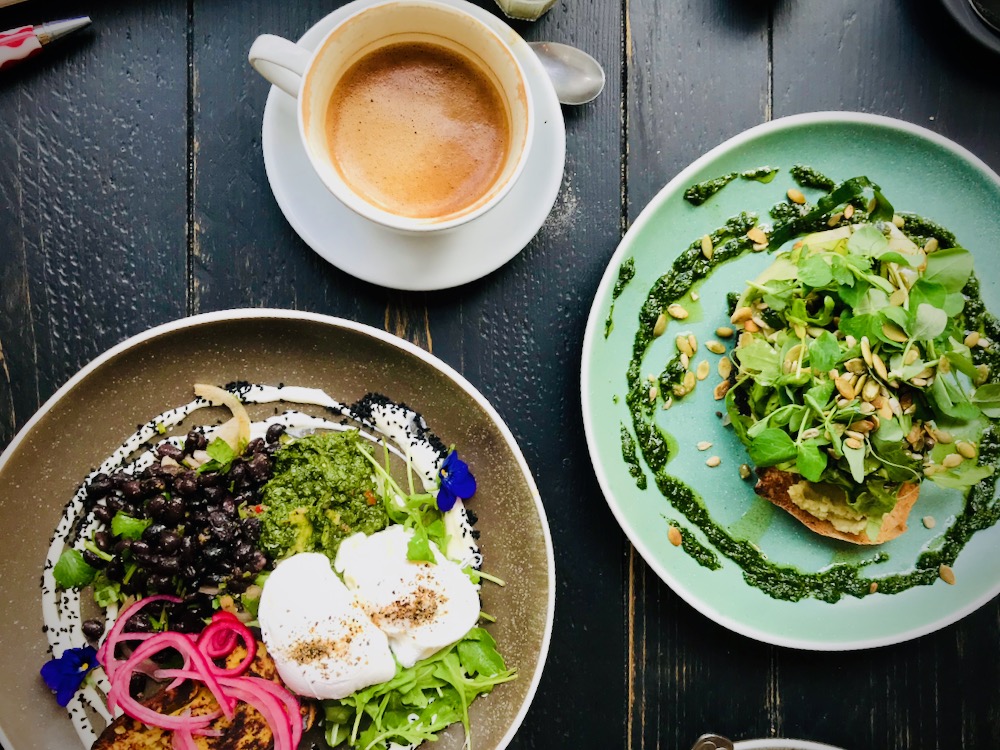
Eating Out
The Fig, Rye, East Sussex
Happiness
Goal Setting for a Kick Ass New Year
Reviews
Matt Inwood’s Instagram Workshop
Eat Sleep Wild
Cadair Idris Walk and Wild Camp
Eat Sleep Wild
Homemade Larabar Recipes
Recipe
Carrot and Walnut Tofu Neatballs
Product Review
Froothie Optimum VAC2 Air Vacuum Blender Review
Happiness
Walking motivation: how to keep coming back for more
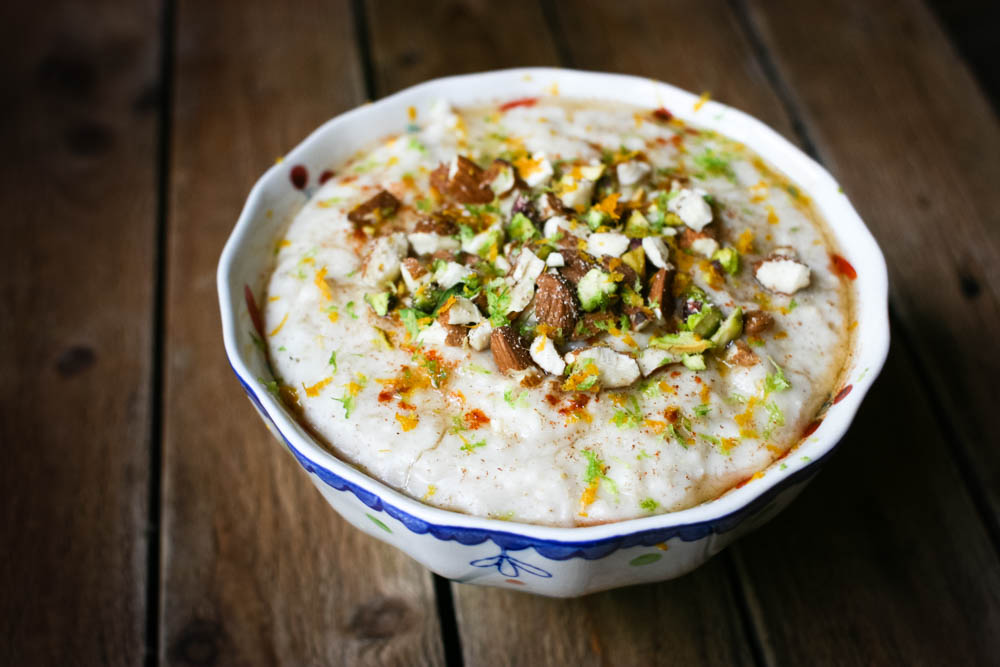
Breakfast
Ultimate Protein Porridge
Older Posts