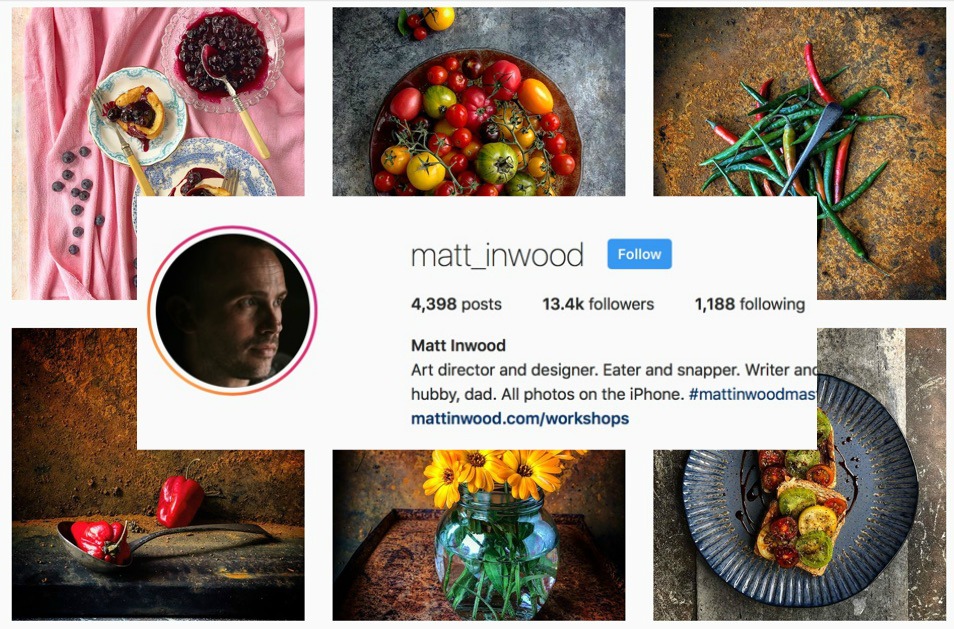
I feel like I’ve known Matt Inwood for years, but it was only last week that I was finally able to meet him in person and take one of his popular Instagram Workshops. I got to know Matt first on Twitter (when we both loved Twitter!) and then on Instagram, his main online platform for sharing his distinctive style of food photography, and also an important networking tool.
I’ve long wanted to take one of Matt’s workshops and learn how he creates these stunning images with just an iPhone. When I saw he was doing a workshop at Daylesford Farm in the Cotswolds, I decided to go for it.
Here’s a bullet point summary of what we covered:
- An overview of Matt’s tools, which is pretty much just an iPhone and Instagram’s editing suite – pretty remarkable!
- First steps: taking the photo with the Camera app (and turning on the app’s grid so as to easily apply the rule of thirds!)
- An overview of Instagram’s features – I thought I knew everything!
- The value of Instagram stories for self promotion and sharing moments that might otherwise clutter your permanent feed
- How to share and grow your Instagram account by using hashtags, tagging people where appropriate, and interacting with others
- An editing demo – Matt took a picture of the scene below and demoed his process. (The picture below is my go at replicating what he did – I’m sure it’s not perfect!)
- Play time!
- Lunch!

The workshop was not as hands-on as I expected, but as Matt said, he could have run an all day “practical” workshop but we wouldn’t learn nearly as much – the heart of the matter is in the tools and the editing. I don’t want to give all of his tips away but do want to share a few key learning points for me:
- When it comes to styling, think of your subject matter as a grid. Many of us know about the rule of thirds. You can extend that thinking to other grid shapes – particularly circles, squares, rectangles, and horizon lines.
- The cameras on mobile phones typically work better for photos with a shallow depth of field, hence why you see so many photos of food taken from overhead.
- Take your pictures at a lower exposure than the camera’s default – this allows you to preserve more details of the image and you can correct any issues with the exposure during the editing process.
- Study food photographers who you like.
- Discover your style.
That last point is a big challenge for me. Although I admire the skill, food styling isn’t really something I seek to perfect – I’d like to portray scenes that are as honest as possible and present a realism to the moment that makes people feel like they’re looking at something achievable. The problem with that is the result is often a mess! There’s also a big trend at the moment of these overhead shots – I see why it works, but I want to take care that my photography doesn’t end up looking like an imitation of everything else out there. So there you have it – I need to discover my style!
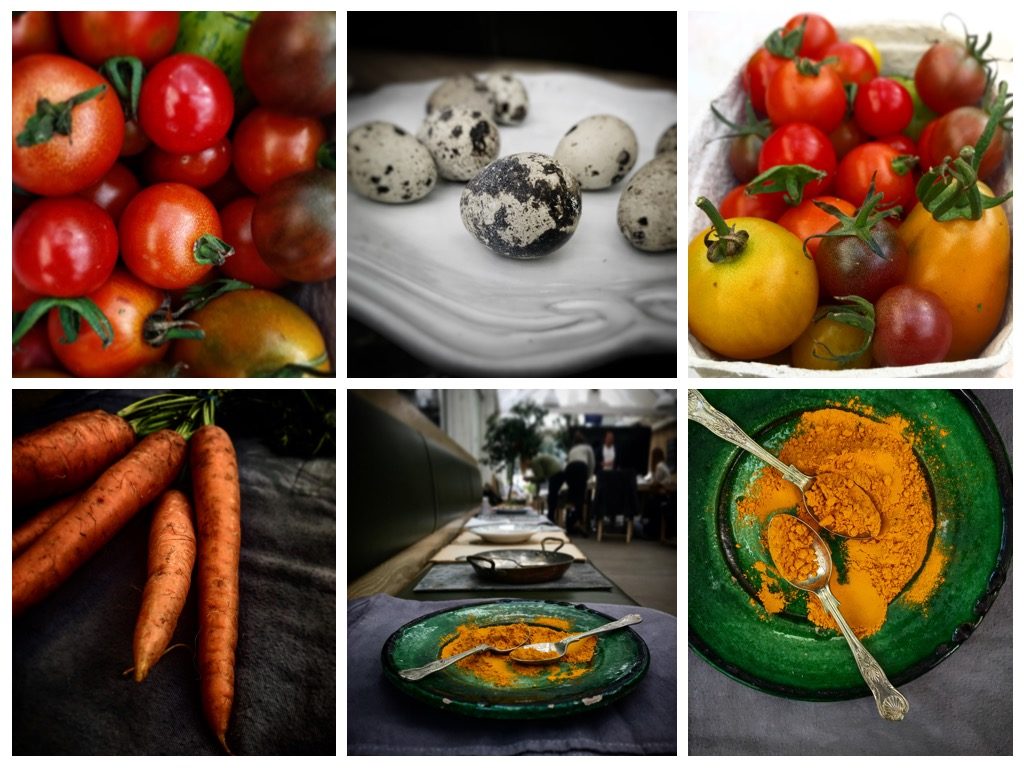
I did make a few attempts during the workshop play time to take some nice photos. They aren’t bad, but they do giveaway my lack of food styling skills!

This workshop, in combination with the arrival of my new camera, a Canon 6D, have contributed to a renewed sense of enthusiasm for food photography which I’m really excited about. For anyone else looking for a dose of Instagram inspiration and fresh ideas, I highly recommend Matt’s course.


Thanks so much for this, Monica. Your results were lovely: the room we were in was quite challenging light-wise. Shame we didn’t have another few hours to talk social, the rise and fall of Twitter and algorithms and SEO a bit longer! x